You don't have to spend lots of money on centerpieces or party decorations. If you have a printer, some card stock, a glue stick, and a bit of ribbon, you're in business.
I decided to have lunch for "the girls" with a tea party theme. I grabbed a picture of a tea cup from free clip art images available on the internet. Here's how I made the centerpiece:
I enlarged the tea cup until it just fit on an 8.5" X 11" piece of card stock. I printed four copies - two with the handle facing left and two with the handle facing right. Getting mirror images was easy to do using the cool flip feature on my Print Artist program. This was a horizontal flip. I cut out the tea cups and glued a left and a right together so the image would be the same on the front and back. I did this twice (remember, four images). I originally tried to do double sided printing on my card stock, but the images didn't line up perfectly, hence the need for four images and a glue stick. The double thickness made the card stock stiffer which made it hold its shape and stand up better.
Going from side to side, I took one of the cups and located the middle of the image at the bottom edge of the saucer. Then I started cutting from the bottom edge toward the top, stopping half way. Taking the second cup, I cut down the middle from the top, stopping half way.
Holding the pieces perpendicular, I slid the cup with the cut at the bottom down over the cup with the cut at the top. There you have it - a free standing, 3-D tea cup.
Another View
No party is complete without favors. Using the same tea cup image and the Print Artist flip feature, I created a place card that holds a candy bar.
This flip was a vertical flip. I guessed at what would be a place card sized image, flipped it vertically, and left some space between the images as a base so the cups would stand up after folding.
I punched a hole at the top rim of each cup, folded each side up, and tied the sides together with a ribbon. Now I can stand it up to mark each guest's place at the table.
I used dimensionals to make the names stand out.
I slid a Hershey bar inside because everybody loves chocolate.
I used cardboard placements and blue paper napkins. When the dog starts barking, the guests are getting out of their cars. It's time to turn the cups over and pull the plastic wrap off the food.
Mike says a flickering television puts him to sleep. I say a flickering TV keeps me awake. I find the voices soothing when the volume is set low, but the flashing drives me crazy. In the interest of marital harmony, I began wearing a sleep mask.
I took a look at my mask the other day, and decided it was time for a replacement. My mask, which had been included in a basket of bath products, was a light weight, satiny thing. I wanted my new eye shield to be similar, not one of those heavy, polar fleece numbers that comes paired with an airline pillow. I could have exactly what I wanted if I made it myself.
I found a pattern and instructions online. I practiced with some fabric remnants before I started cutting up the black satin I purchased for my project. I have three masks in my personal stash - one for home, one for travel, and one in reserve. The rest of the masks are free for the asking.
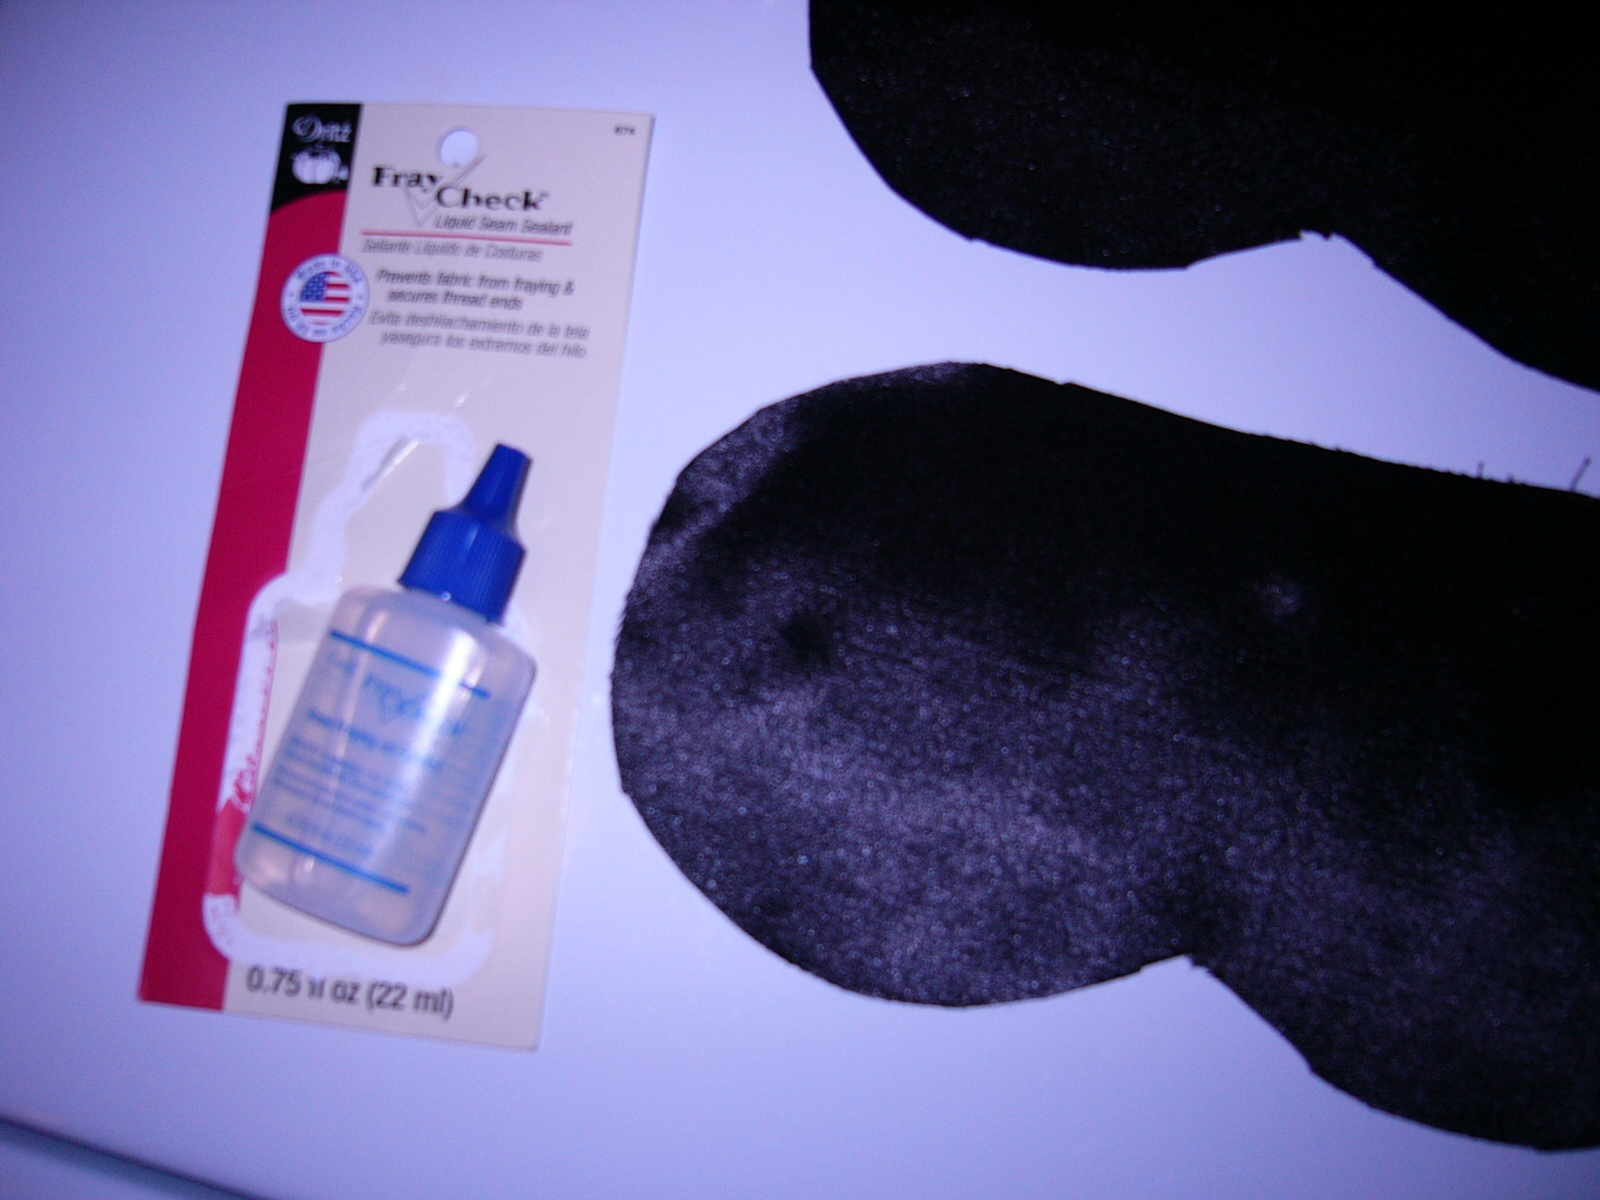
I printed out my pattern and pinned it to my fabric. Cut two per mask. The pattern calls for a 1/2" seam allowance, but I made my seam allowance 1/4" to 3/8".
This type of fabric frays. That's a bad thing when you have small seam allowances.
Fray Check is a great product.
Run a thin line of Fray Check around the edge of each mask piece. It's a little stinky, and it takes a few minutes to dry.
I used a layer of quilt batting to plump up my mask and add an extra layer of light blocking. Some people use a layer of polar fleece. I'll bet black out drapery lining would work well.
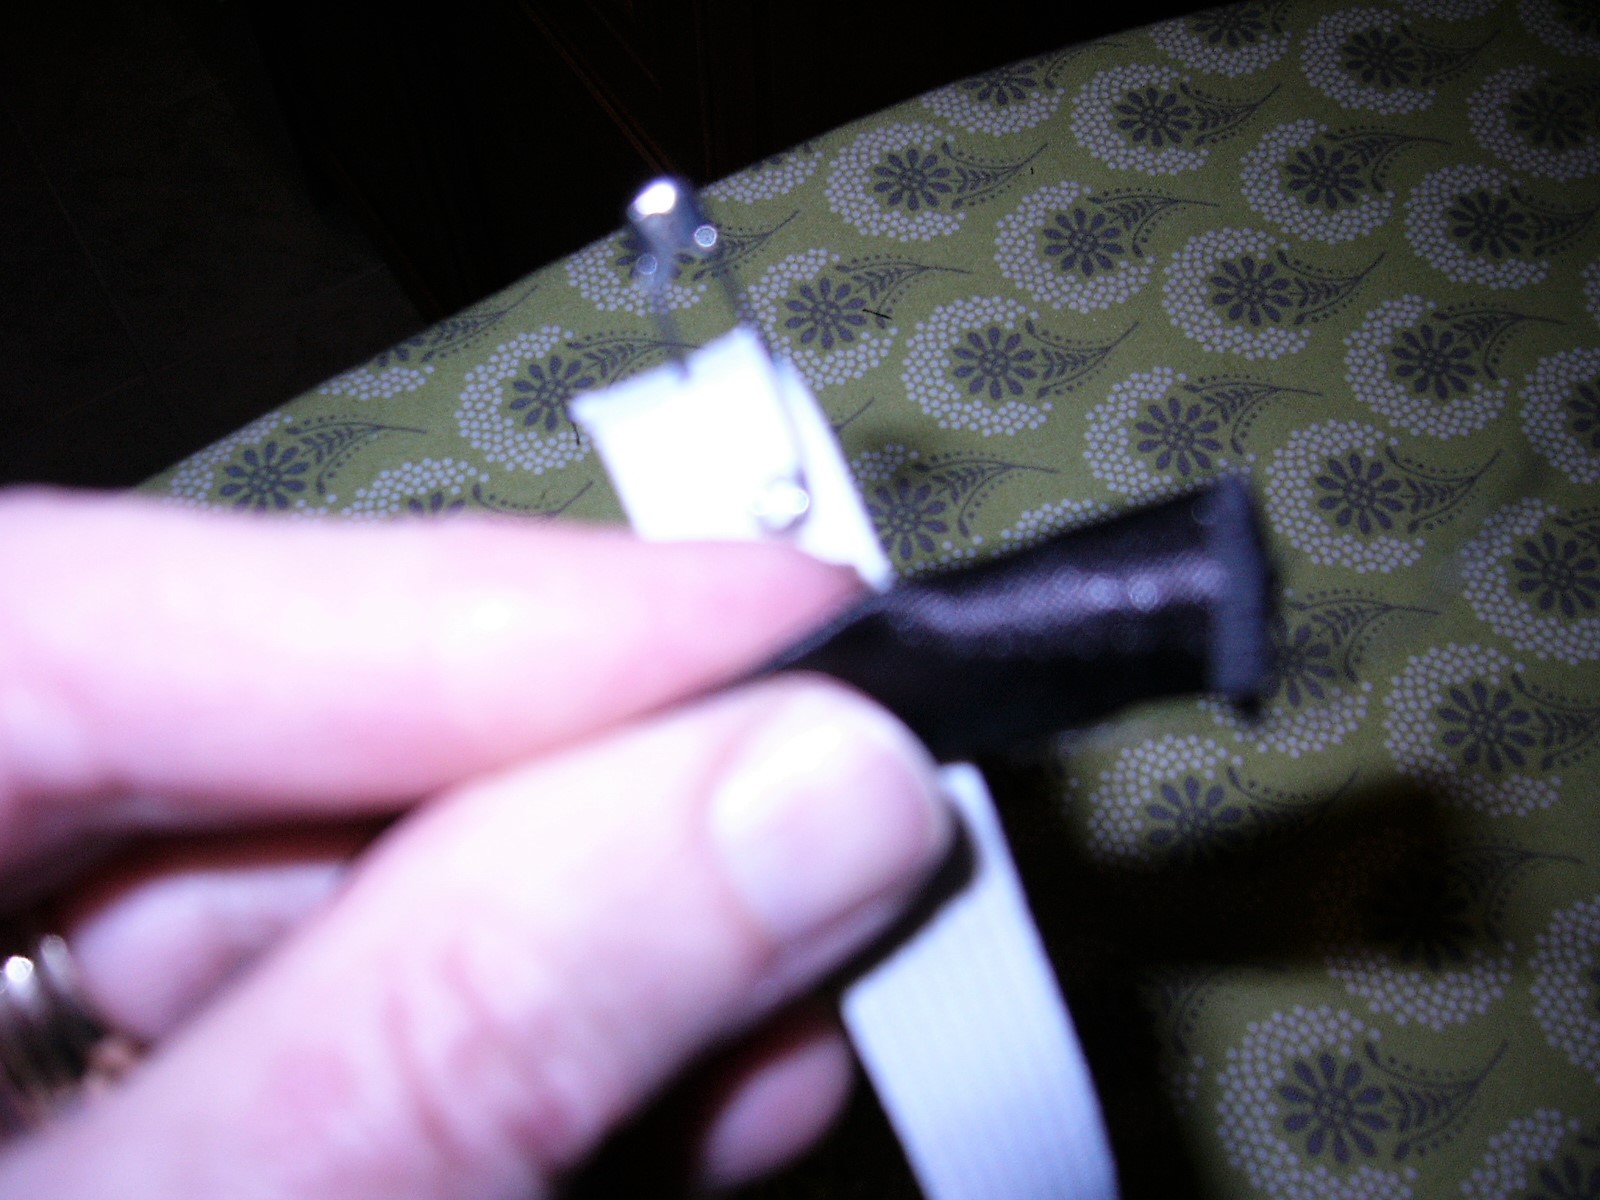
I found some sparkly 5/8" elastic at Joann Fabrics. I decided to use this as the head band. You could also sew a casing and string regular elastic through the casing or you could attach a ribbon on either side and tie the mask. The two ribbons method allows for a custom fit, but the knot behind the head might be uncomfortable for back sleepers. I centered the elastic over the lines marked on the pattern and pinned it into place. I adjusted the length of the strap, allowing for the seam allowance, until I found a comfortable strap length. Then I sewed the right side of the elastic to the right side of the front mask piece. The right side is the pretty side. Pretty sides face each other.
Next, I pinned, then sewed, the quilt batting to the wrong side (the uglier side) of the mask back.
The mask front holds the head strap, and the mask back holds the batting layer.
Pin the layers together as follows:
Lay the mask front down with the right side up and the head strap neatly folded out of the way so it doesn't catch in the seam you are about to sew. Lay the pretty, shiny side of the mask back on top of the pretty, shiny mask front. The quilt batting will be face up. Sew around the edge using a 1/4" or 3/8" seam, leaving a two inch opening at the top of the mask. Clip the seam allowance almost to the stitch line. This makes the mask lie flatter when it is turned. Use the opening to turn the mask and pull out the head strap. Press the edges.
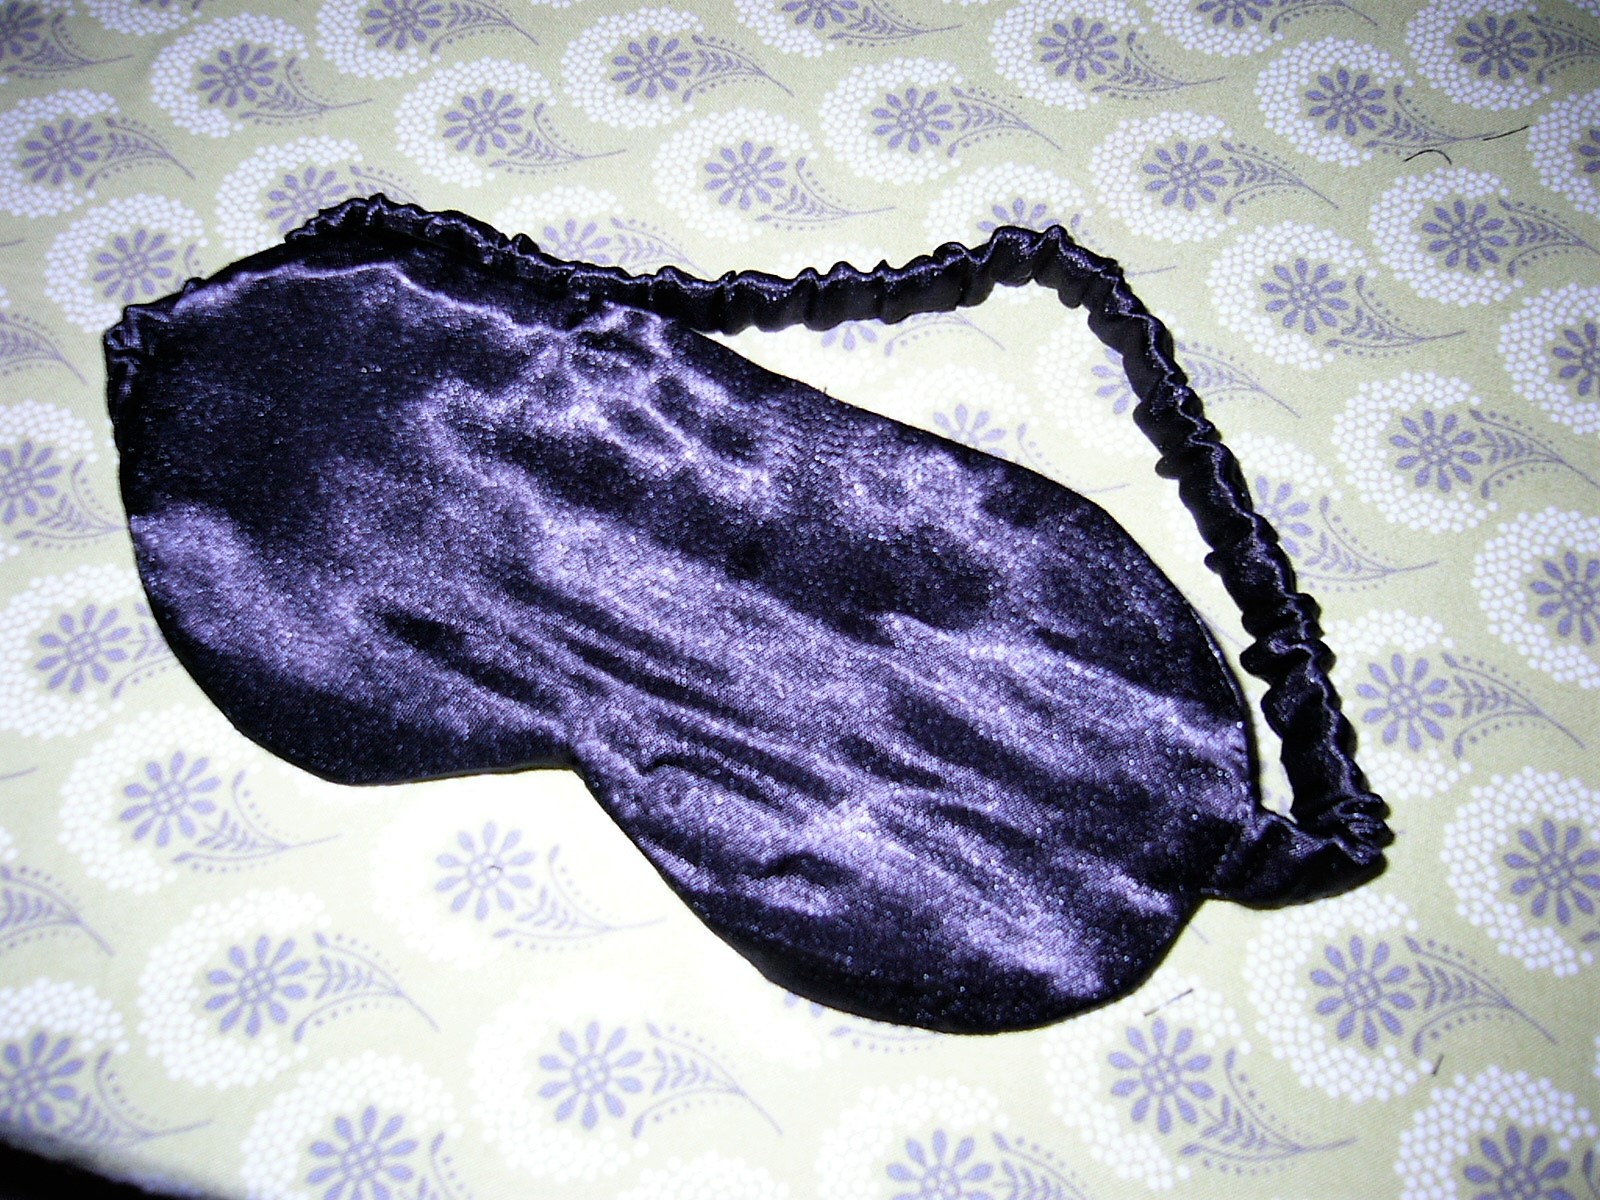
Sew the opening closed by hand.
Nice.
Here's how to make a head strap using regular elastic and a fabric casing.
I cut a strip of fabric 2" wide and 16" or 17" long. Fold the strip in half lengthwise and press. Sew down the strip 5/8" from the folded edge. Trim the open edge 1/4" from the stitching and apply a thin line of Fray Check. Your casing is inside-out. You'll have to turn it.
When the Fray Check is dry, turn the casing. I used a safety pin to do the turning. Pin it through one fabric layer at one end of the casing. Push it inside the casing and work it all the way through to the other end, turning the casing right-side-out as you go.
Press the casing flat after you have turned it.
I applied some Fray Check on the end of the casing. When it dried, I used the safety pin to thread a 15" length of 1/2" elastic through the casing.
Gather the casing up on the elastic. I had to experiment a little to see what strap length fit most comfortably (remember to account for seam allowances). Once I figured that out, I trimmed the elastic and sewed the ends of the head strap closed.
Also nice.
I have a whole bag of these things.
Sleep masks have an interesting history. Californians, Edward and Elsie Hemphill, invented the sleep mask in 1930. They obtained a patent for their "sleep eye shade" in 1933. Popular Science published an article about their mask in May 1931. Sleep masks were never very popular until a sleepy Audrey Hepburn wore one in the 1961 movie "Breakfast at Tiffany's." Ms. Hepburn tied her sleep mask with two strings, but she evidently was a stomach sleeper!